How to Create a Fancy Layout with Multiple Photos and Lots of Perfect Paints and Dimension
- Candy Rosenberg
- Aug 25, 2023
- 2 min read
There was a comment I received when I shared a stunning one picture layout from a fellow design team member, it was about how they like to see layouts with multiple photos but still use paints, fussy cutting, and all the fun goodies on the page. I took that as a challenge. I sat down and created a page with all the fancy stuff and use three photos, to show how you can do all this on one page.

I laid out the photos to not cover the beautiful main images of the 49 & Market Botanical Scrapbook paper.

The packaging that the 49 & Market ephemera comes in is so beautiful and it had a matching butterfly. I had to fussy cut the butterfly, add a Scrapbook Adhesives Foam Square, cut in half to give it dimension so you can still see the butterfly underneath. This gives your page extra dimension.


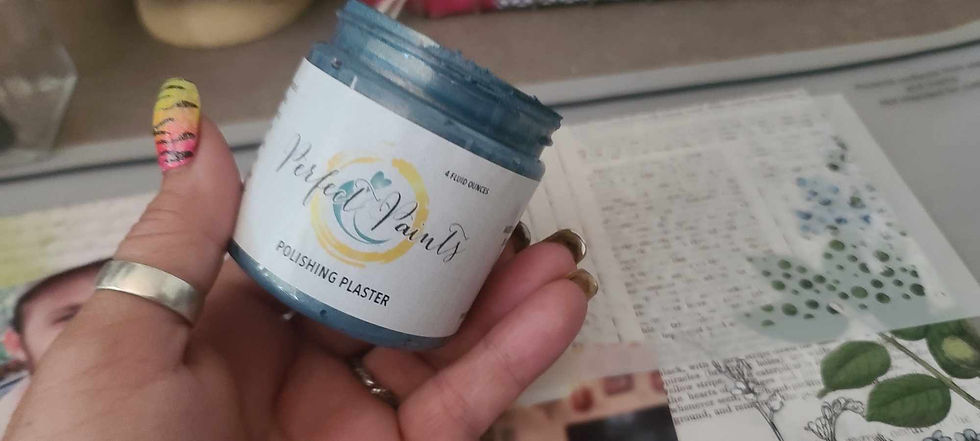
Using Perfect Paints Polishing Plaster in Azure Blue with the 6 x 6 Hole Punch Stencil. Slimline Random Bubbles on the horizontal.

Once the first layer was dry, I added another stenciled paint layer with the 6 x 6 Hole Punch Stencil and used Perfect Paints Shimmering Acrylic "Bright Gold" paint.


I used the Perfect Paints Shimmering Acrylic "Northern Lights" paint to brush around the edges and create a frame.

I wanted to share a fun technique using a scrap piece of paper, the edge of the scrapbook paper that is normally cut off is perfect. Cut 3 inch strips, leaving the bottom intact. Then wrap around a knitting needle or something similar and make curly curls.


This is what it should look like when you are done. Often I do this and leave only two tendrils and add them to the top of butterflies. However, on this layout I want it to be amped up a bit.


I added Perfect Paints Glaze Medium to brush over the stenciled areas to give it some extra shine and bling.


Another fun technique I wanted to share was framing a page with paint by lining it with a dark paint. I used Perfect Paints Shadow Matte Acrylic Paint


The final page all put together, lots of paint, mediums, fussy cutting, dimensions but still have multiple photos.


Comments