
Buttons! Polymer Clay and Perfect Paints
- Jul 22, 2025
- 2 min read
I'm just beginning to learn polymer clay and experimenting with additives. You can use many mediums to tint the clay or add accents in between layers of clay. Some popular additives are acrylic paint, alcohol inks, metal leaf and mica pigments.
I was curious about this technique for using up small amounts of left over colors of clay. It was a bit messy, but the results are fantastic!
SUPPLIES: Perfect Paints Shimmering Matte Acrylics #1027 Spiced Saffron
Other Supplies: Polymer clay in 3 colors (green, blue and yellow), button shaped cutter, pasta machine for clay, clay cutting tool, gloves, liquid Sculpey translucent, glossy glaze for clay
Instructions:
Use about 1" balls of each color. Cut into small square-ish pieces, 1/8" or less.


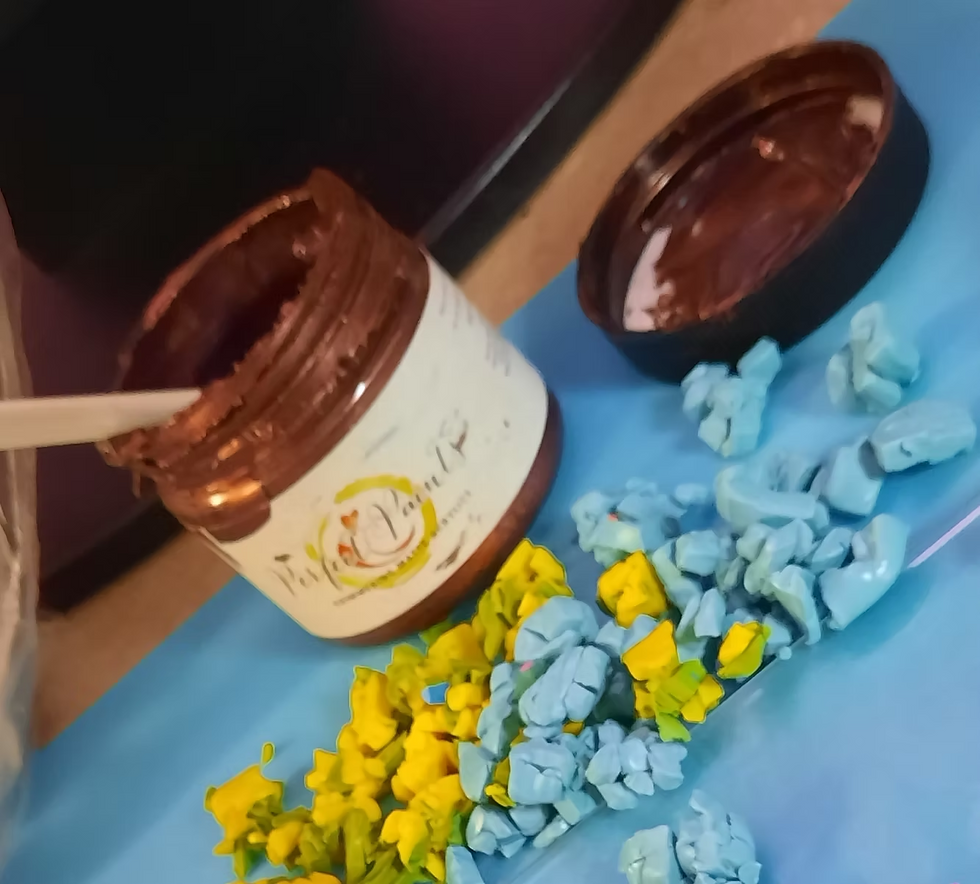
Drizzle the Shimmering Matte Acrylics #1027 Spiced Saffron over the clay and spread it around to coat the clay pieces. Let dry for a few minutes.
Drizzle with Liquid Sculpey; rub around to coat the clay and then form into a block.
Slice the block of clay into as many 1/8' slices as possible. Lay them flat side by side, touching so they stick together. (It was at this point that I realized that the camera was not recording.)

Mixing Polymer clay with SMA Run the clay through the pasta machine on the thickest setting. Try to do this only once or twice so as to not muddy the colors together too much.

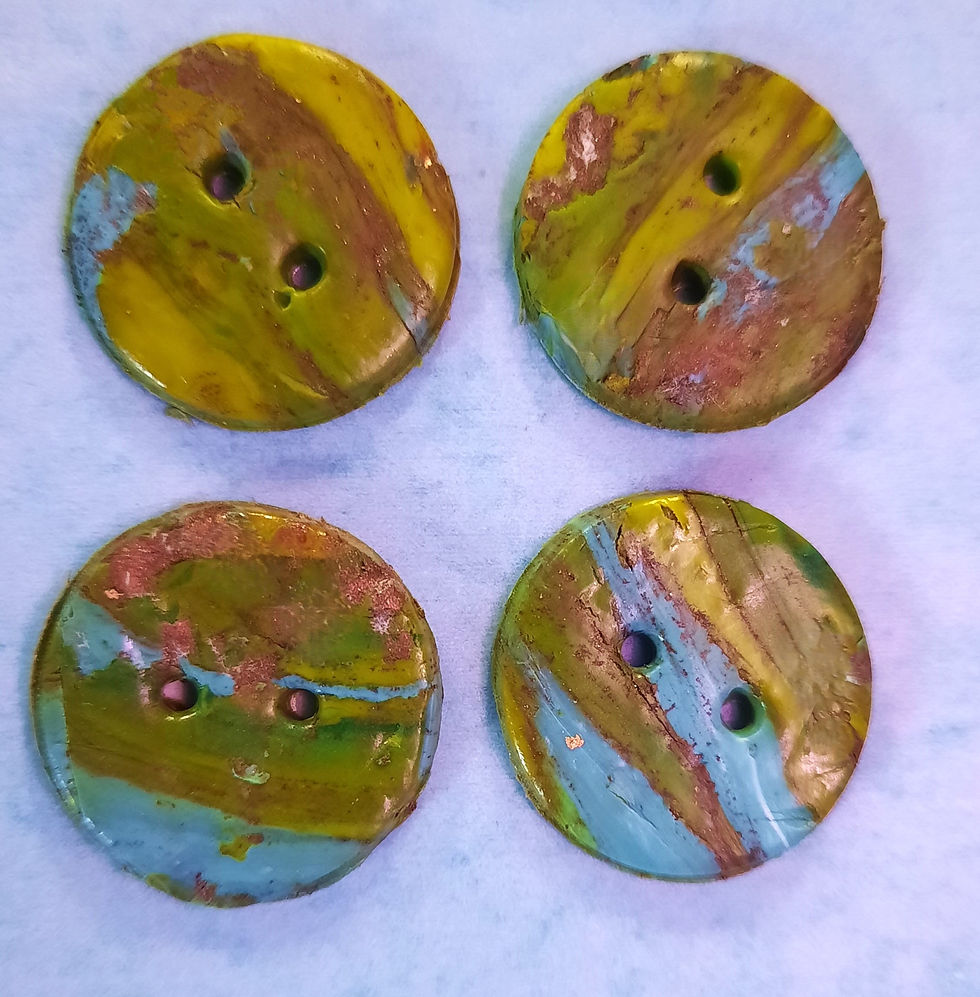
Cutting out our buttons Press the button shaped cutting tool into the pressed clay. Cut as many buttons as you want.
Place the clay onto a smooth, heat safe surface. I used clear glass. Tile also works.
Bake at 275 degrees for 30 minutes or whatever specifications are written on your brand of polymer clay.
Let cool and sand off any imperfections before glazing.
This technique would be wonderful for jewelry pendants too! I hope that you are inspired to experiment with your creativity today.
Make art every day!
Becky Conley


Comments